What a toy boat taught me about clever injection-molding design
You can learn a lot from a kid’s toy. Especially when that toy is a boat made from recycled milk jugs, produced in the U.S., and sneakily packed with some really nice injection-molding features.
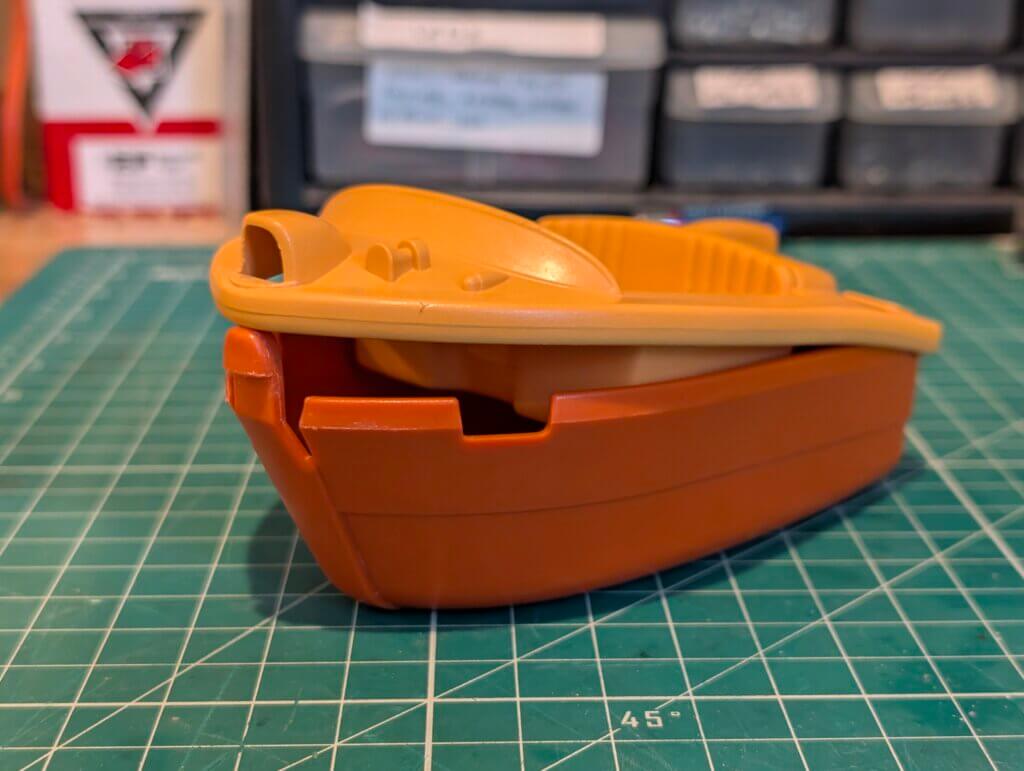
This is a teardown of a Green Toys boat — my son’s boat, actually (sorry, bud). It’s a great example of how to do injection molding well: reduce part counts, avoid fasteners, make assembly easy, and still get a clean, durable result. Let’s dig in.
🛠️ What’s going on here?
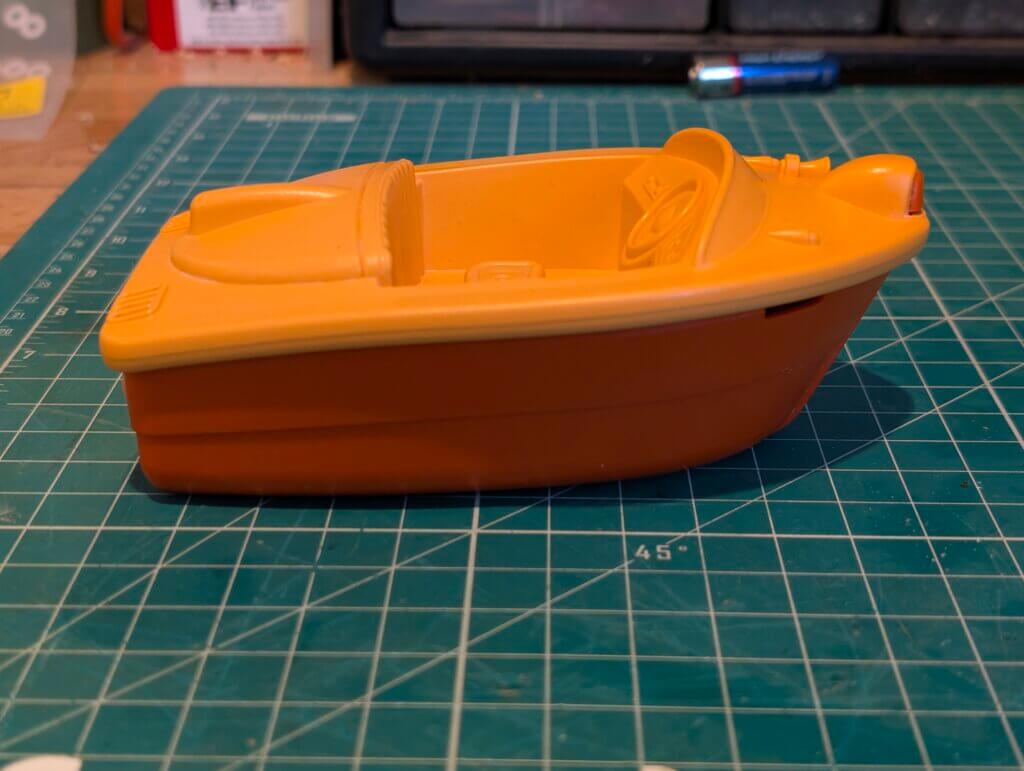
The boat is made from recycled HDPE — the same plastic as milk jugs. It’s injection molded in two halves: top and bottom housings, snapped together with a smart little hook and some exhaust-pipe-looking features in the back. No screws. No adhesives. Just clever plastic design.

So, what makes this boat cool from an engineering perspective?
🔄 Core injection-molding principles
Let’s start simple:
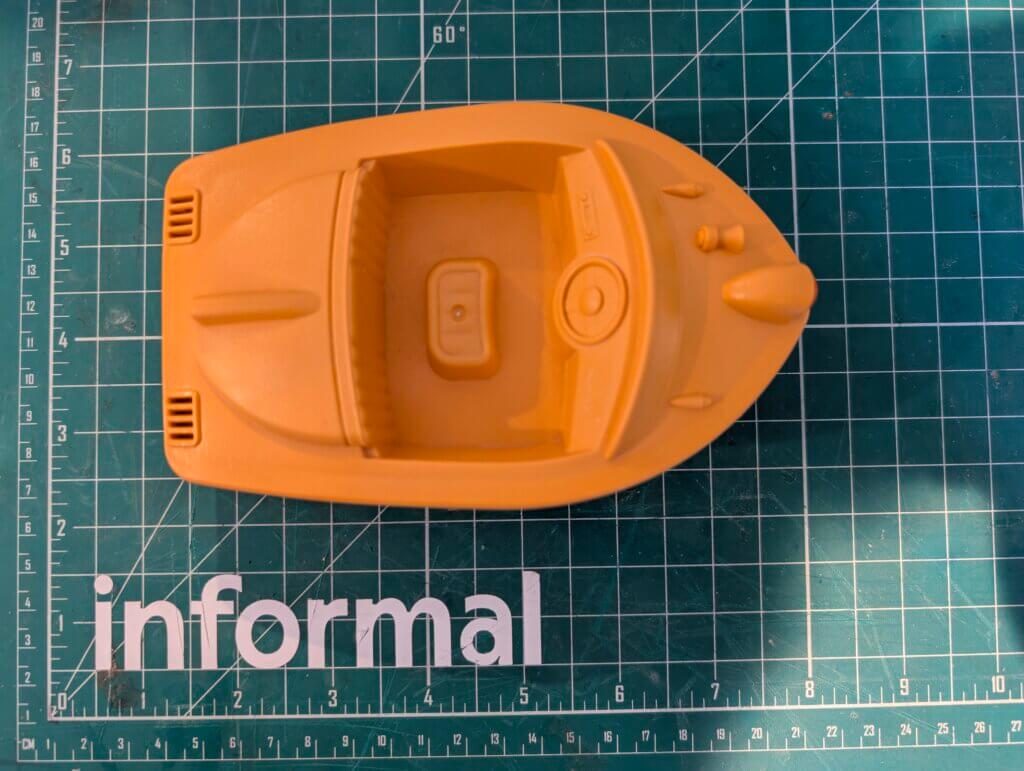
- Gate location: Right in the middle of the cabin is a tiny dimple — that’s where the molten plastic enters the mold. We typically try to hide gates because they can look ugly, but we need to position them where the plastic can flow to all areas of the part.
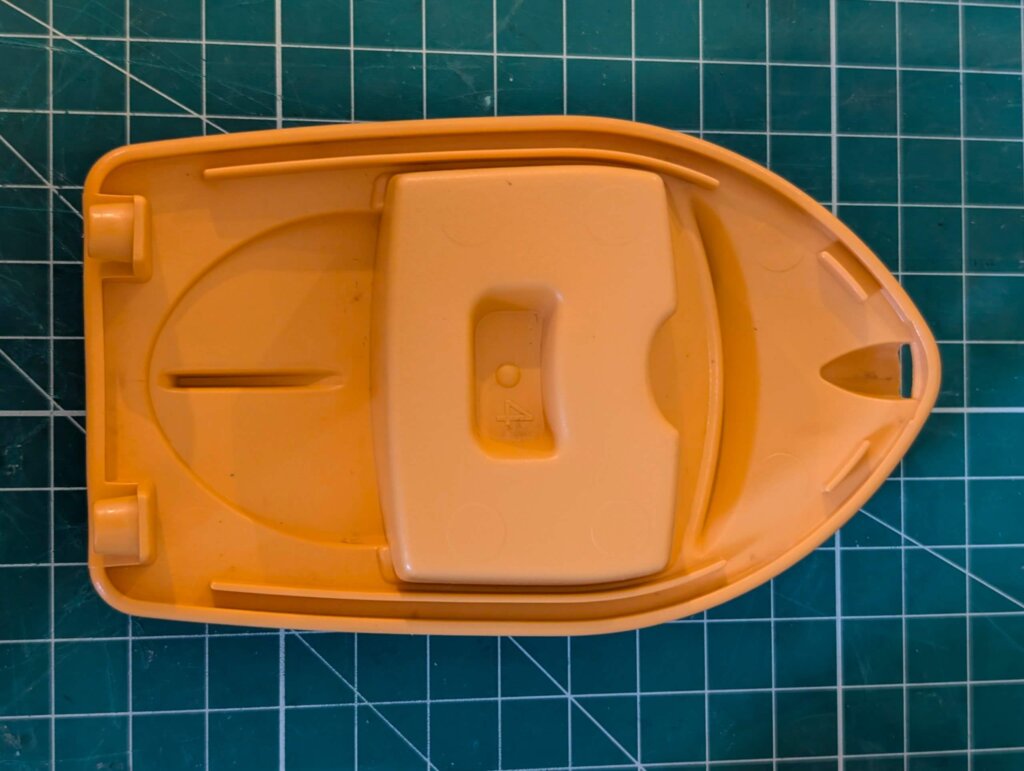
- Multi-cavity tooling: There’s a little number 4 on this part, which tells us there were (at least) four copies of this part in the mold getting produced simultaneously. While this is more expensive, multi-cavity molds are great for high-volume production.
- Ejector pins: Those round marks you see? They’re where the mold physically pushes the cooled part out. They’re not the prettiest features, so we tend to hide them on non-cosmetic surfaces. Some ejector pins are rectangular shaped and can better blend in.
Importantly, the part avoids thick sections of plastic that would cool unevenly and create sink marks — little divots caused by material contraction. On this boat, the designers cleverly used vent-like holes in the exhaust pipes to thin out the plastic without compromising the way the part looks.
![]()
🔧 Sliders, shutoffs, and sharp mold design
This toy also showcases some textbook examples of more advanced mold design:
- Sliders: Used to mold those tricky holes in the exhaust pipes and Green Toys logo. A slider moves laterally in the mold, forming side-facing geometry you can’t otherwise get with just the A/B halves.
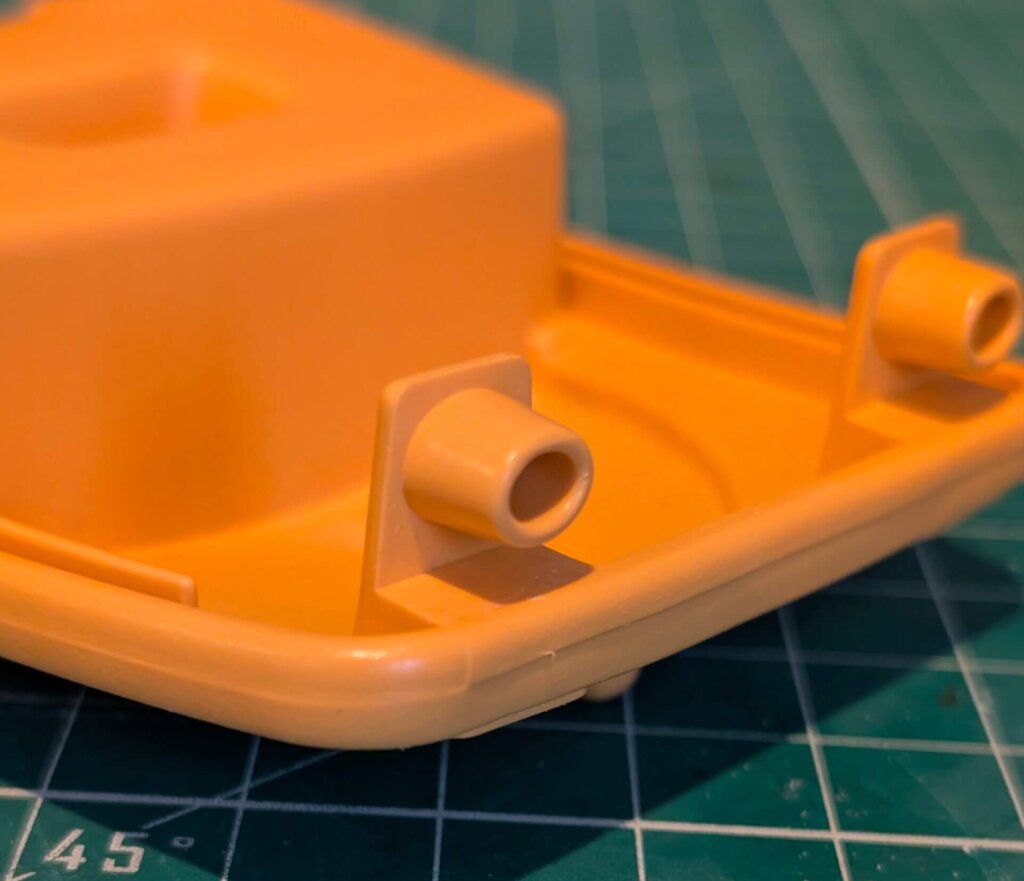
- Shutoffs: See that hole in the snap hook area? It’s formed by two mold halves coming together precisely, forming a tight seal that blocks plastic from filling a section, creating a void or opening.
- Parting lines: Notice the tiny seams around the logo or edges — that’s where the mold halves meet. Good tooling minimizes these and prevents flash (plastic leaking out of the seam). Unfortunately, parting lines have to exist on injection-molded parts, so a good designer works with the mold makers to hide them as best as possible.

Even the compliance info and logos are molded directly into the plastic, possibly using interchangeable inserts — a nice way to keep things flexible if branding or legal info changes later.
![]()
🧩 Date codes & design for quality
There’s a little arrow with a number on the underside — that’s a date code. This one reads March 2024. Great for QC tracing. If there’s ever a field failure, manufacturers can trace parts back to their production batch and isolate the issue quickly.
Also, the shiny gloss around the logo might suggest insert tooling — separate steel pieces that can be swapped in the mold to change branding or compliance info later.
You can also spot a sink mark on the bottom housing — that tiny dimple from a thick plastic section cooling unevenly. In this case, it’s tucked away, so not a big deal — but still, good to spot and learn from.
🧷 Snap fits > Screws
Finally, the best part (at least from an assembly perspective): The whole thing goes together with clever snaps and pivot joints. No screws, no mess. Just align, click, done. These are the kinds of details that make high-volume plastic products cheaper to assemble and easier to repair or recycle later.
🙌 Final thoughts
This is how you do injection-molded parts well:
- Reduce fastener count.
- Think ahead about tool design.
- Keep your plastic thickness uniform.
- Design with ejectors, gates, and sliders in mind from the start.
Big kudos to Green Toys. This thing isn’t just sustainable — it’s smart. And if you’re designing your own plastic part, especially for kids or high-volume use, there’s a lot here worth using.
informal is a freelance collective for the most talented independent professionals in hardware and hardtech. Whether you’re looking for a single contractor, a full-time employee, or an entire team of professionals to work on everything from product development to go-to-market, informal has the perfect collection of people for the job.