Going from prototype to production: Hardware
Typically, a hardware project takes somewhere between 9 to 18 months to mature from an idea to a final manufactured product. During this time, you need to prototype and evaluate all components of the product, including the mechanisms and housings. Each project is unique in their challenges, operating environments, and design constraints, but most projects follow a similar path from design to production.
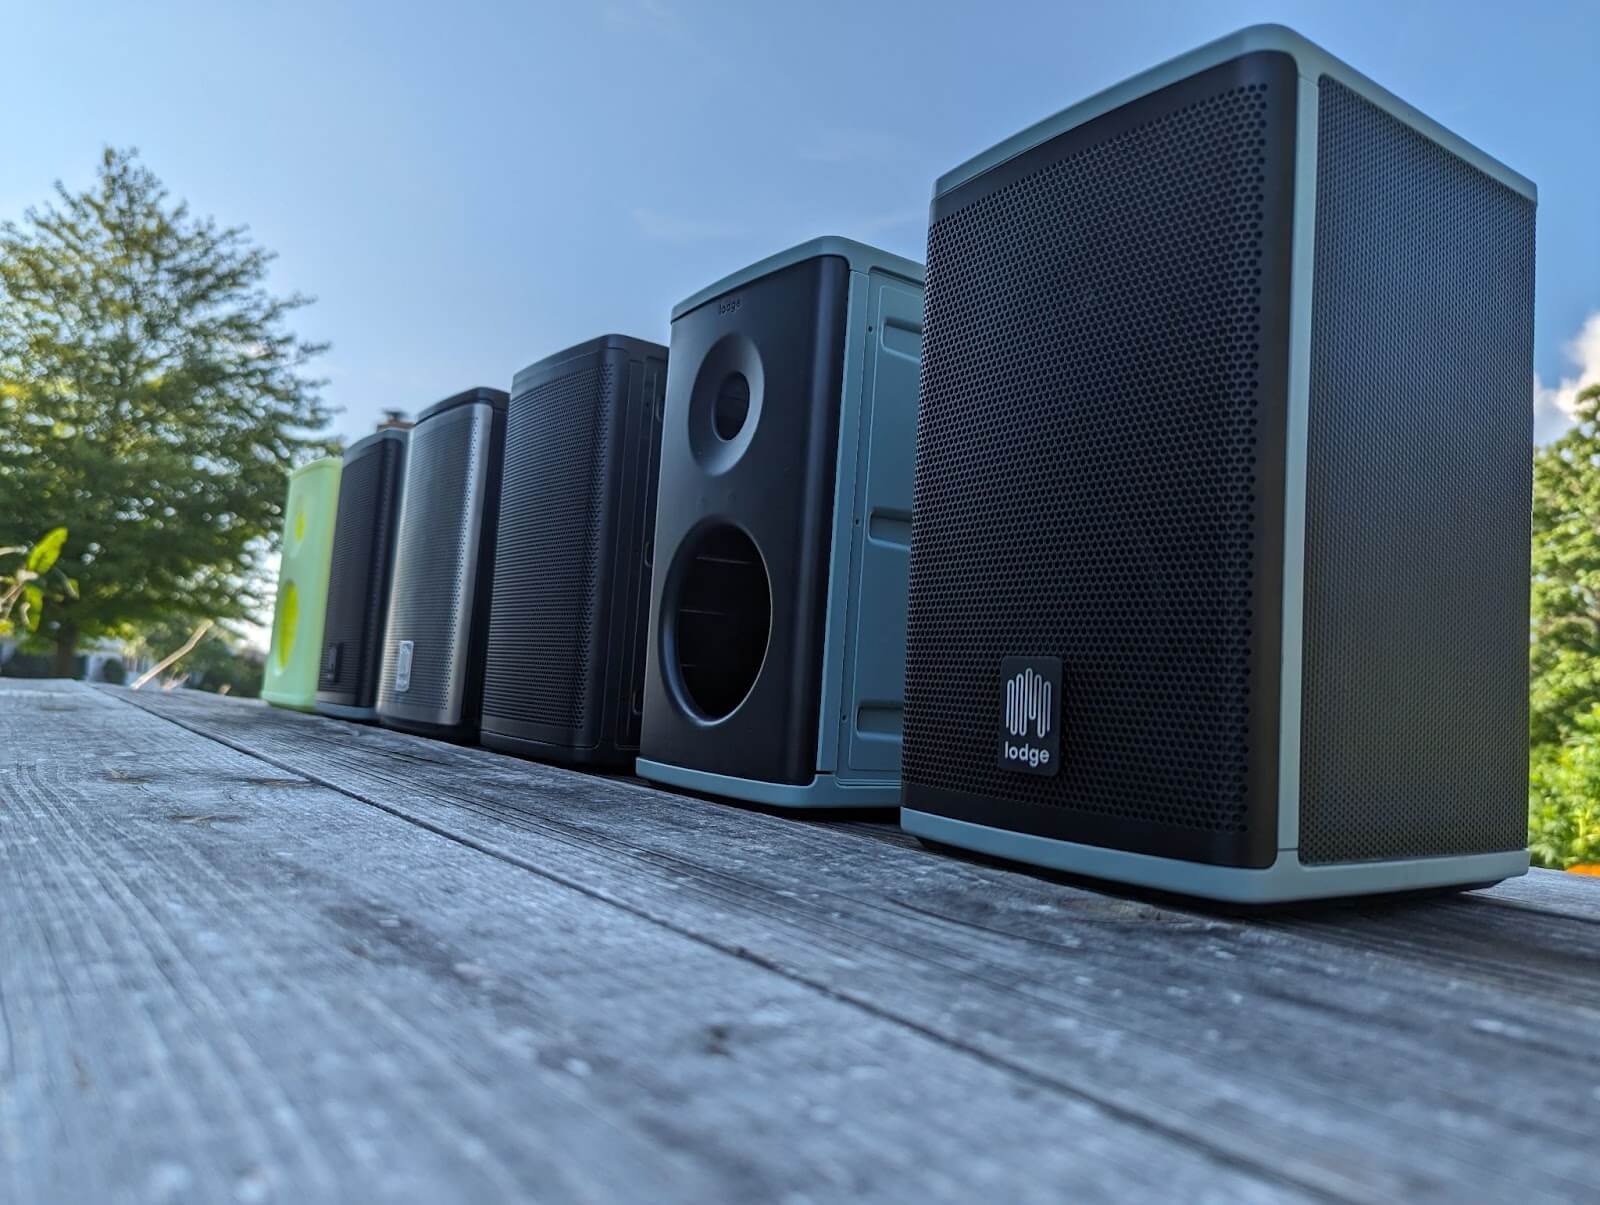 All of the various prototypes made during the development of the Lodge speaker.
Step 1: Computer-aided design
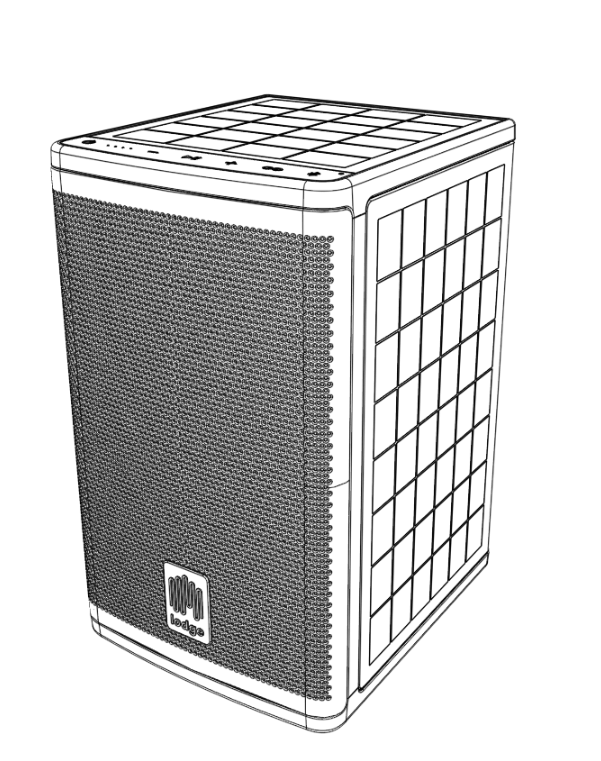
A screenshot from Onshape of the final speaker top-level assembly.
The majority of hardware projects start out as a 3D model in a computer-aided design (CAD) package. Here, a mechanical engineer details out each component. They determine how individual parts attach to each other to form subassemblies, how electronics may be mounted to housings, and how to deal with things like shedding heat from sensitive components, how to ruggedize the device, and how to prevent water from getting in.
After the CAD model is complete, a design review is common. The engineering team reviews the model and ensures that all stakeholders are happy with the design. Typical items to review include checking for interference between components, ensuring there’s proper engagement on threads, and ensuring that gaskets can compress the correct amount. Electrical engineers may give feedback on the proximity of housing components to the circuit board, clearance around screw bosses, and the placement of openings for lights and connectors. Industrial designers may chime in about the part breakups, manufacturing methods, and materials used. It’s not uncommon to make changes and have a second or even third round of reviews and iterations before everyone is happy with the design.
Step 2: First prototypes
Once all stakeholders are happy with the design, it’s time to prototype the mechanical components. The methods used to prototype vary with the material, quantity, and fidelity of the prototype needed, as well as how the prototypes will be tested. It’s common to use fused deposition modeling (FDM) 3D printing to prototype any plastic housings, CNC machining to create prototypes of metal or some plastic parts, laser cutting for any flat parts like gaskets or screen covers, and sheet metal vendors for any brackets. (You can dig into our comparison of various manufacturing methods if you need guidance).
While some prototypes can be made in-house with various 3D printers and CNC machines, it tends to be more cost and time efficient to send them out to a vendor. Many vendors exist for quick turnaround 3D printing, CNC machining, and sheet-metal forming. In general, steer clear from the first page of a Google search for vendors, as you tend to pay far more here. I strongly recommend Makelab or CraftCloud3D for all things 3D printing and companies like SunPe in China for all methods of prototyping. It’s common to order a handful of prototypes here to test assembly, wire routing, and part fit. There are always changes that can be made after evaluating the first round of prototypes, and the CAD model is updated at this stage to address them.
Step 3: Second (and third) prototypes
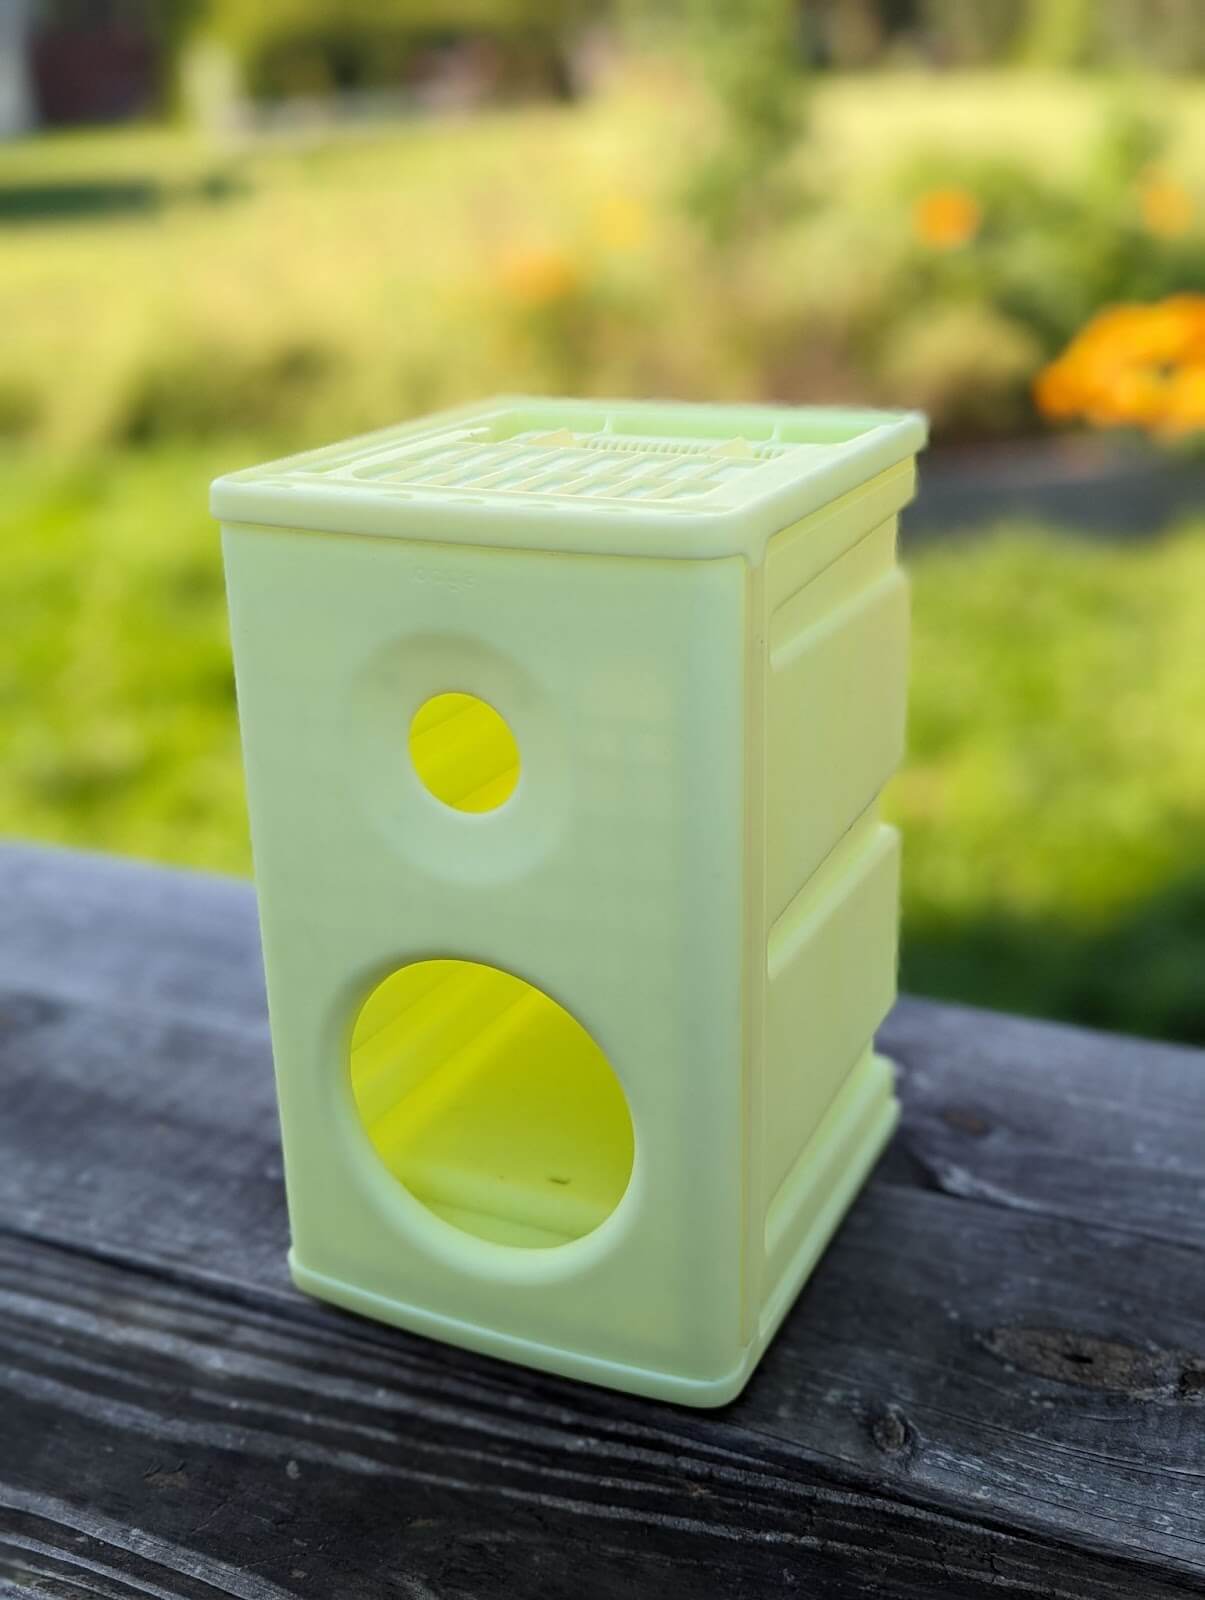
The first SLA 3D-printed prototype of the Lodge speaker.
Assuming you nailed the design and had to only make a few tweaks (way to go!), it’s time to get more high-resolution samples.These prototypes should be 90% indicative of the final manufactured units, and include any features like draft, proper wall thickness, locating features, and reveal grooves. At this stage, stereolithography (SLA) 3D printing tends to be used because it has a higher resolution than FDM prints.
If a more durable prototype is needed, CNC machined or selective laser sintering (SLS) 3D-printed housings may be ordered instead. Beat these up — put them through the ringer if the materials allow it, and learn as much as you can! You may need to iterate again and get another set of prototypes, which is totally fine. The goal here is to gain confidence in your design before investing in costly tooling, so one more round of prototypes to iron out any kinks now is well worth it.
Step 3.5: Cosmetic prototypes

A urethane cast cosmetic sample of the Lodge speaker used for crowdfunding videos.
If you’re planning to create any marketing collateral for a crowdfunding campaign or presale, you probably won’t have final units ready yet. Fear not! Many vendors specialize in creating cosmetic prototypes for this exact purpose. Most vendors will use urethane casting or CNC machining to create incredibly high quality prototypes that look and feel like the final part and match your CMF (color, material, and finish).
One thing to remember is that these prototypes can actually look better than the final product if you didn’t do your design for manufacturing work well. Sink marks, drag marks, and gates won’t impact these prototypes but they’ll show up on the manufactured units. Sometimes, these cosmetic units are sent out to beta testers or used for fundraising purposes, so make sure they work well or the users are aware they’re prototypes.
Step 4: T0 samples
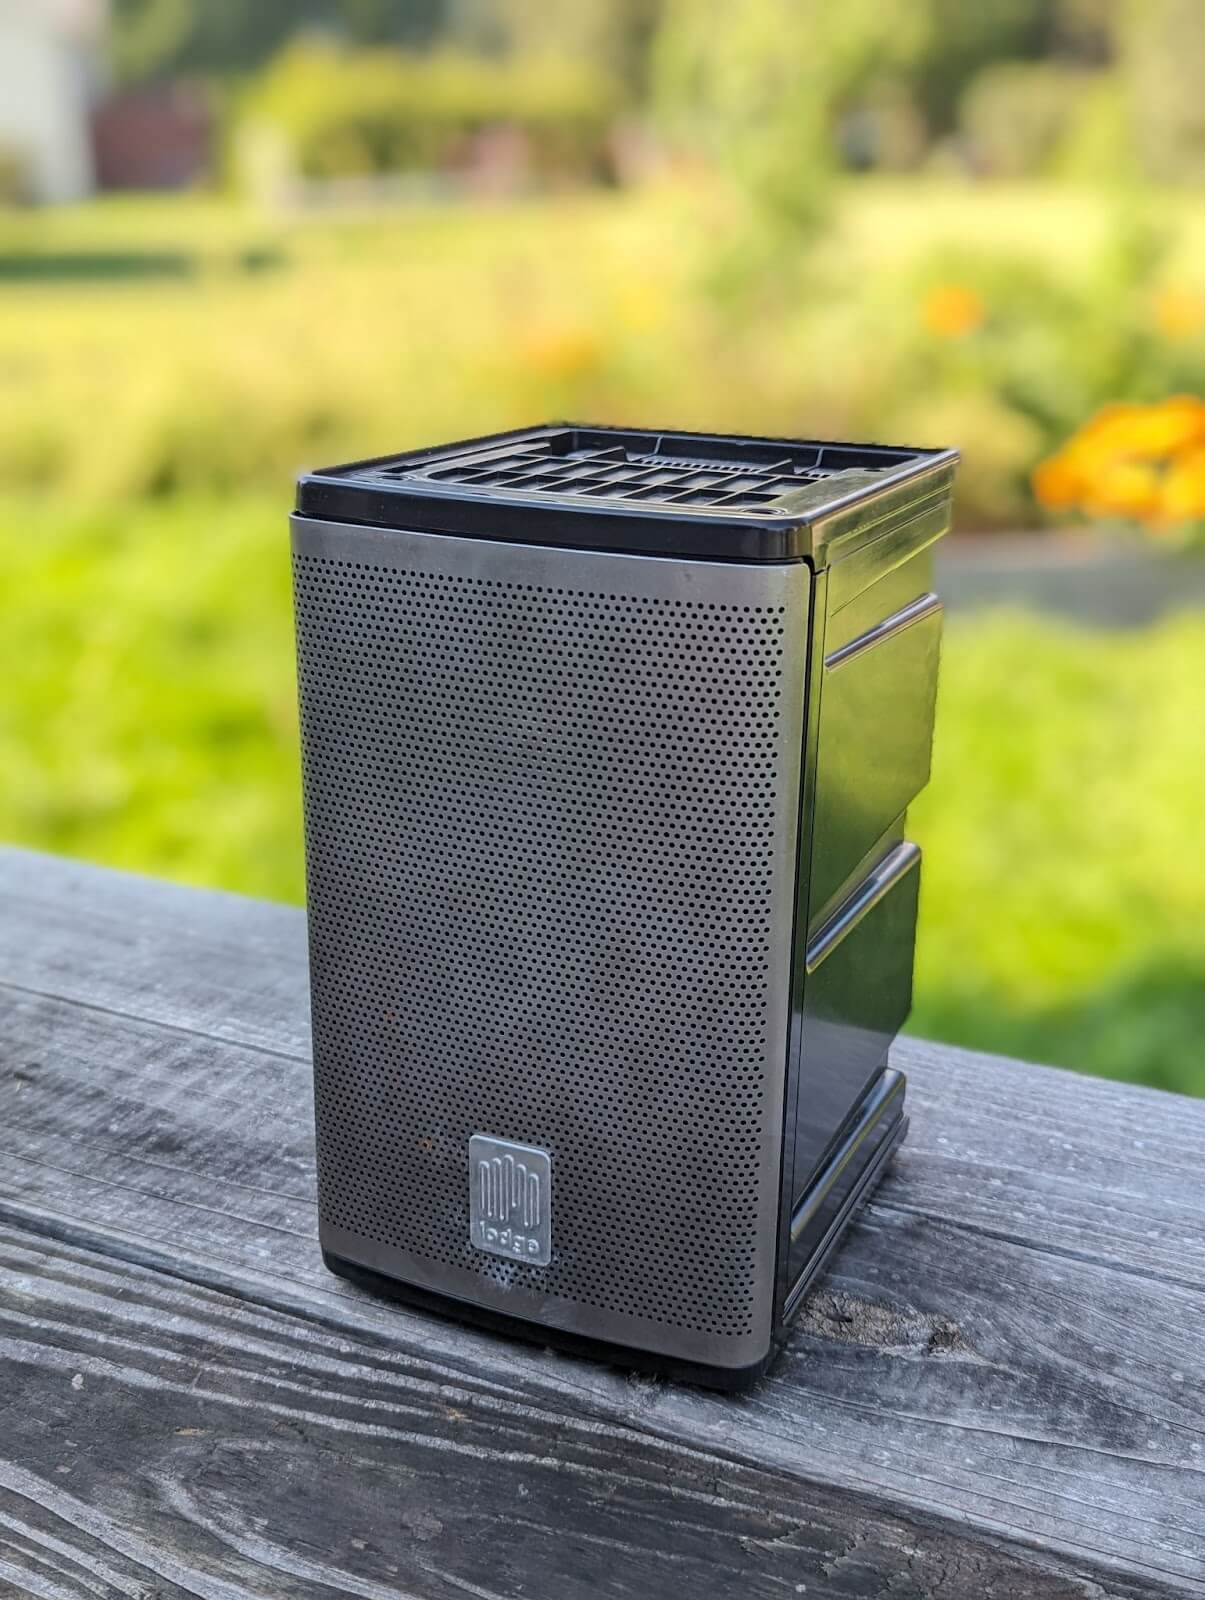
The first samples of mass manufactured parts. Note the raw steel grille, logo, and the shiny plastic.
After you’re confident in your design, it’s time to cough up some serious cash for tooling and wait an eternity to see the first off-tool samples. Injection-molded plastic parts are made from a series of metal blocks that close together to form a mold, where molten plastic is injected and cooled. The solid plastic part that is ejected from the mold is inexpensive and very repeatable across thousands of cycles.
For complex metal parts, a similar tool is used to stamp holes into a metal sheet or emboss features like bends or stiffening ribs. Parts with a continuous cross section can be manufactured by extrusion, which has a cheaper tooling cost and moderate part price. While CNC machining is occasionally used for manufacturing, it tends to be fairly cost prohibitive unless you have access to hundreds of machines, like some of the big players in technology.
Tooling tends to take 4–6 weeks for moderately complex parts. Factor in shipping from your vendor (likely in China), and you’re probably not going to see the first manufactured sample (called T0 samples) for a month and a half. Have fun pacing around your office as you wait. Alternatively, you could take a trip and visit your vendor to review the parts immediately when they’re ready. This is a great way to shave weeks and sometimes even months off a project timeline since you can iterate on the tool design and review samples in a matter of days.
When the T0 samples finally arrive, the fun begins! Since these units are finally indicative of the final manufacturing methods, you can put them to work. Drop testing, water ingress testing, UV exposure testing, thermal and humidity testing, and general fit and finish should be evaluated using these samples. Typically, these samples won’t reflect the final color or finish of the retail units, but you can still get a feel for part fit and overall appearance. For molded plastics, texture is added to the metal tools themselves, and modifying tools with texture on them is difficult, so it’s added once everything is locked in.
T0 samples most likely require changes to improve the fit and finish and to dial in cosmetic issues or assembly issues. Communication with the vendor is key here and they’re very used to tweaking the tools to improve the product. Oftentimes, I’ll highlight an issue I’ve noticed on a plastic part only to learn that the vendor noticed it too and already fixed the problem. Talk about a good partnership!
Step 5: T1/T2/TX samples

T1 textured units and final T2 colored units.
Time to get serious! After the issues in the T0 samples are addressed, it’s time for T1s. These samples should match the CMF of the final units and can be used for retail units if needed. T1s are where all of your hard work paid off, and you can hold in your hands the final product. Congrats! There may be a few cosmetic flaws or molding issues to resolve, which leads you into T2 and T3 samples as needed.
Stay tuned for future installments of this series focusing on firmware and electronics!
informal is a freelance collective for the most talented independent professionals in hardware and hardtech. Whether you’re looking for a single contractor, a full-time employee, or an entire team of professionals to work on everything from product development to go-to-market, informal has the perfect collection of people for the job.